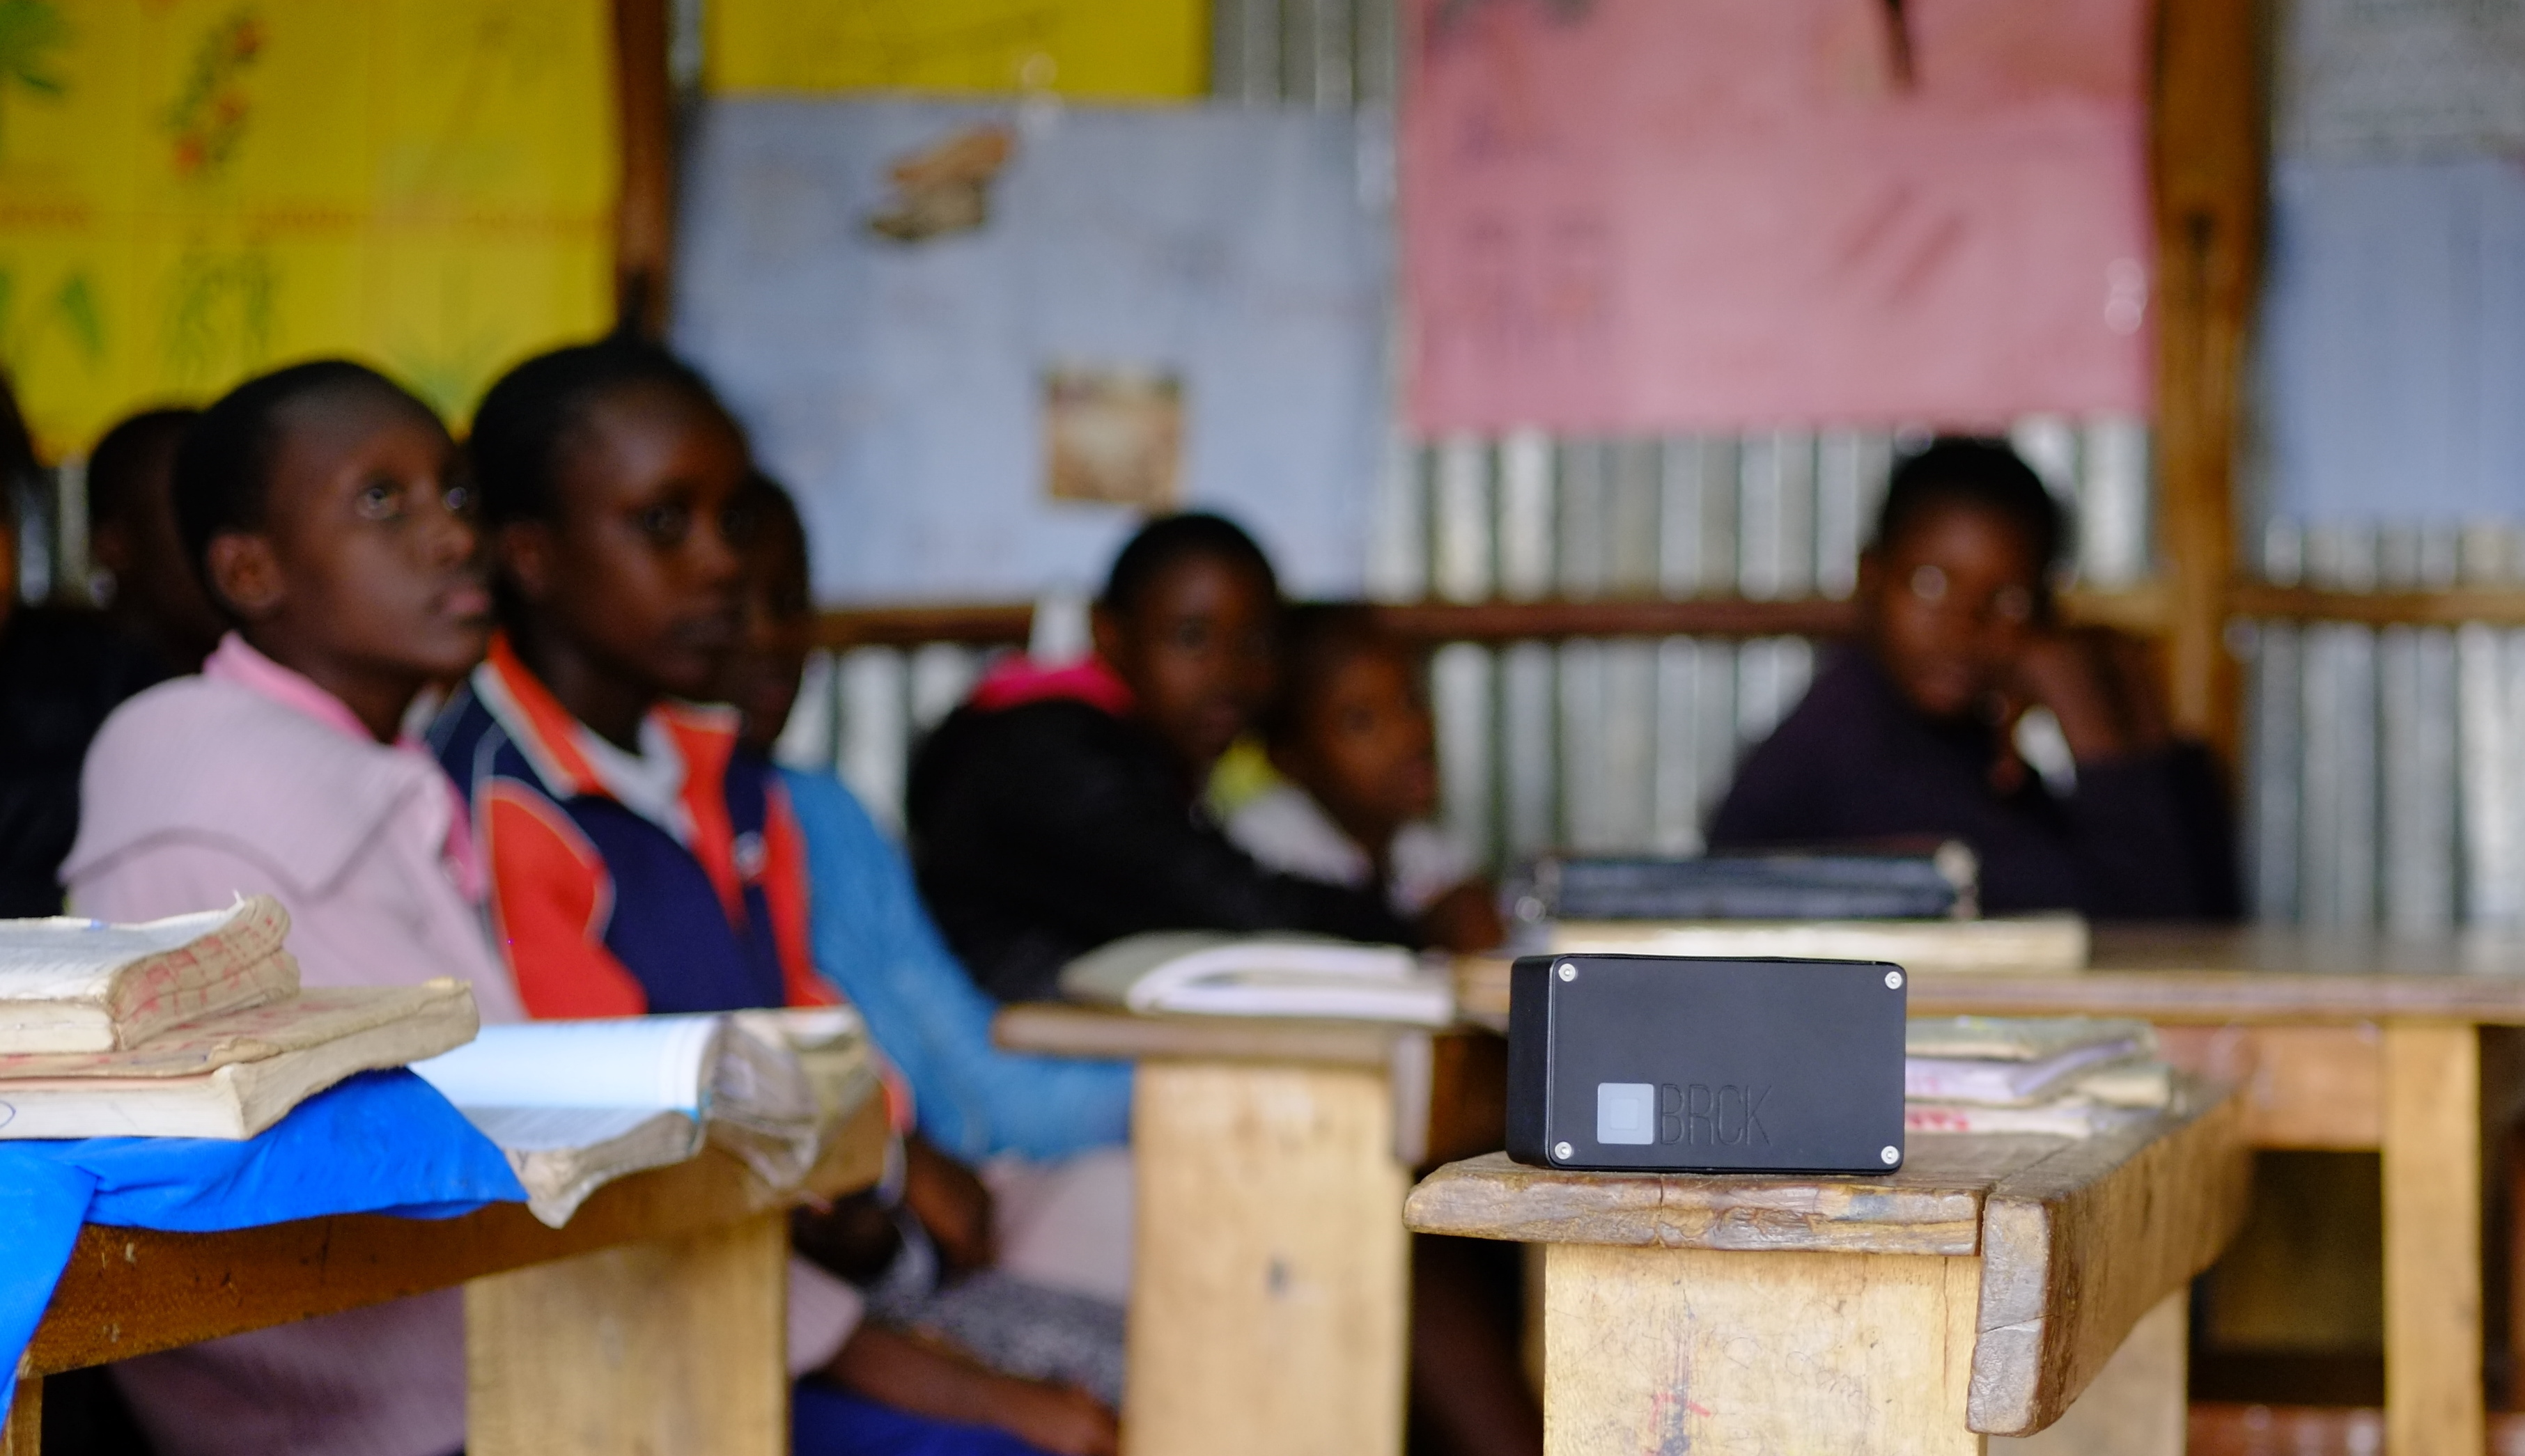
This weekend Reg, Philip and I took off for the Nguruman Escarpment, which is about a four hour drive outside of Nairobi. Our goal was to field test a BRCK with some friends of ours, Philip and Katy Leakey, who live in a tented camp at the top of the Ngurman escarpment, which is on the edge of the network.
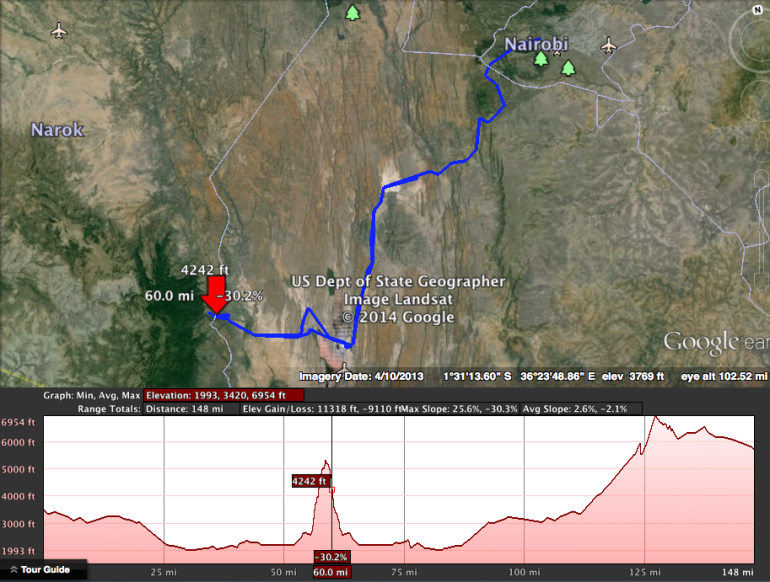
Nairobi to Nguruman route, with elevation. Some areas at 31% grades.
The town of Ngurumani sits at the base of the escarpment, and you rise 3,000 feet on a rough dirt road in order to get to their camp. The Leakeys use solar and generator power, and the only way they can get internet is using either spotty 3g dongles, or very expensive (and slow) VSAT services. It’s not ideal, and for a couple who run some amazing businesses with global reach, that grow wealth in their Masai community, it’s a real problem to not be connected to the internet consistently.
The Journey
Early Sunday morning, we set out. I had done this drive in a car before, but wanted to see if I could do it on the motorcycle too, so both Philip and I rode out on bikes while Reg followed in the Land Rover. It’s an incredibly scenic trip, as you go through the dry, Masai country, over the sodium flats of Lake Magadi with their pink and white ponds, and into the back country. The views from the escarpment are majestic, and the air is clean and crisp, unlike Nairobi.

Coming down a steep and rocky hill overlooking Lake Magadi

Reg in the Land Rover at Lake Magadi
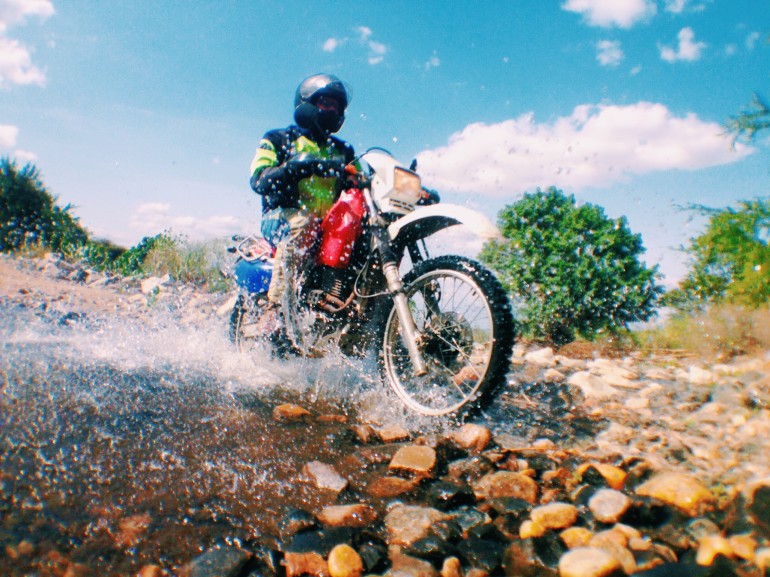
Philip crossing a stream
The good news was that we did the ride with no meaningful problems.
The bad news was that I was unprepared for just how difficult the climb up to the top of the escarpment is. In a car it’s tough, but 4 wheels give you some balance, as well as much needed traction when you get to the really steep grades that have a lot of sand beneath you. As if courting disaster, I also had forgotten to change my tires on my motorcycle to knobbies until too late, so was stuck going up in city tires. Not a good idea. There’s a part of the road that gets to 31 percent grade, with S-curves and if you slow down, you’re in trouble.
I ended up stalling out on this one particularly steep portion, and was exhausted trying to keep it upright, and push the bike forward as it dug itself deeper into the sand and gravel. Finally, Reg caught up with me and was able to help push as I got it going again, and we were able to get to the top without any more issues. The way back down was just a controlled slide, as the brakes helped, but you couldn’t actually stop yourself from progressing downwards. One particular S-curve remains engraved in my memory, since that’s where a cobra dropped from a bush next to me. Fortunately it was small, and wanted to get away from me as much as I did from it, so we parted amicably.
The Field Test
We carried with us an assortment of large and small antennas, and we were particularly keen to try out the new ones from Poynting Antenna in South Africa. We also brought the normal BRCK, Sandstorm case and our Wilson antenna amp (booster). Beyond that, we carried our standard medical kit, tools, SIM cards and water.
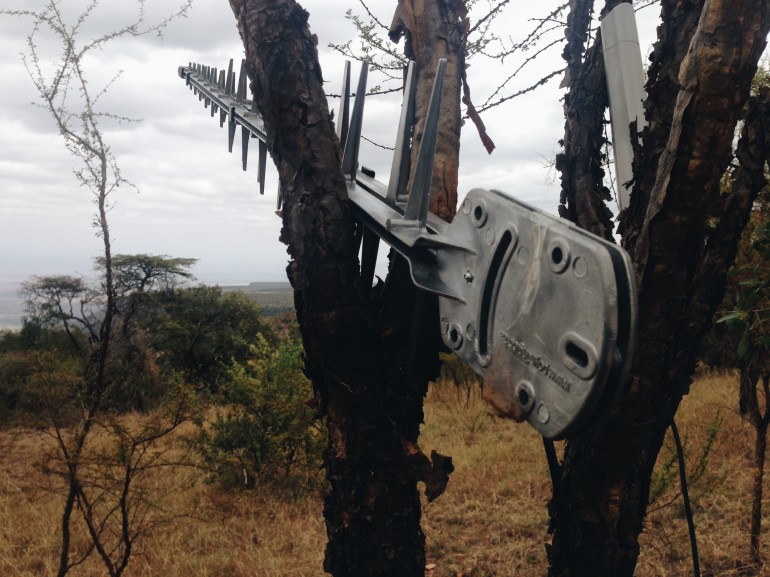
Using a Yagi from Poynting Antenna
The main antenna we used was the large, 1 meter-long, cast aluminium Yagi antenna by Poynting. It’s big, tough and not easy to pack around with you, but it gets the best gain. We were easily able to reach out and grab the signals from the mobile phone towers about 4-5 kilometers away, and we got 90% or 54dBi.
It turns out that you can get three mobile phone connections from the Leakey’s. Safaricom has a decent signal, but the tower that serves the people in that community has no internet connection, to that was a dud. Orange also has a tower, and supposedly the internet data connection does work on it, but it wasn’t a strong signal and we didn’t have any luck with it. Airtel, on the other hand, had a good signal and had a data connection.
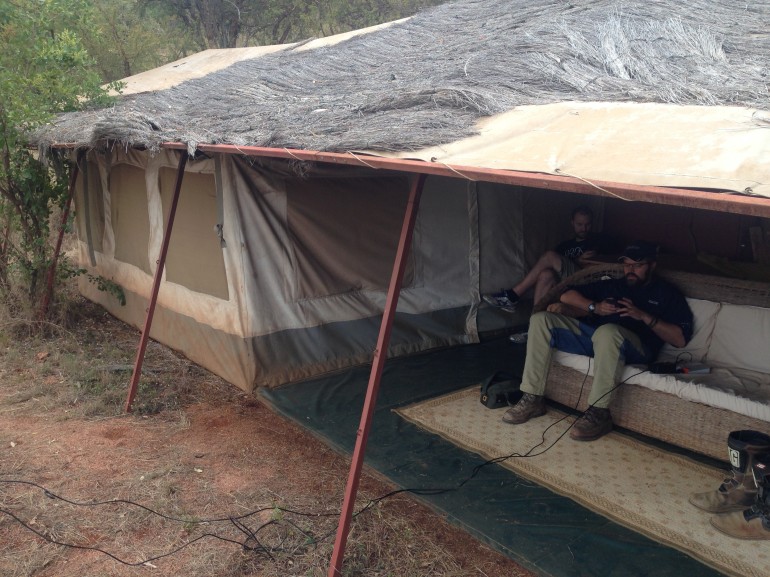
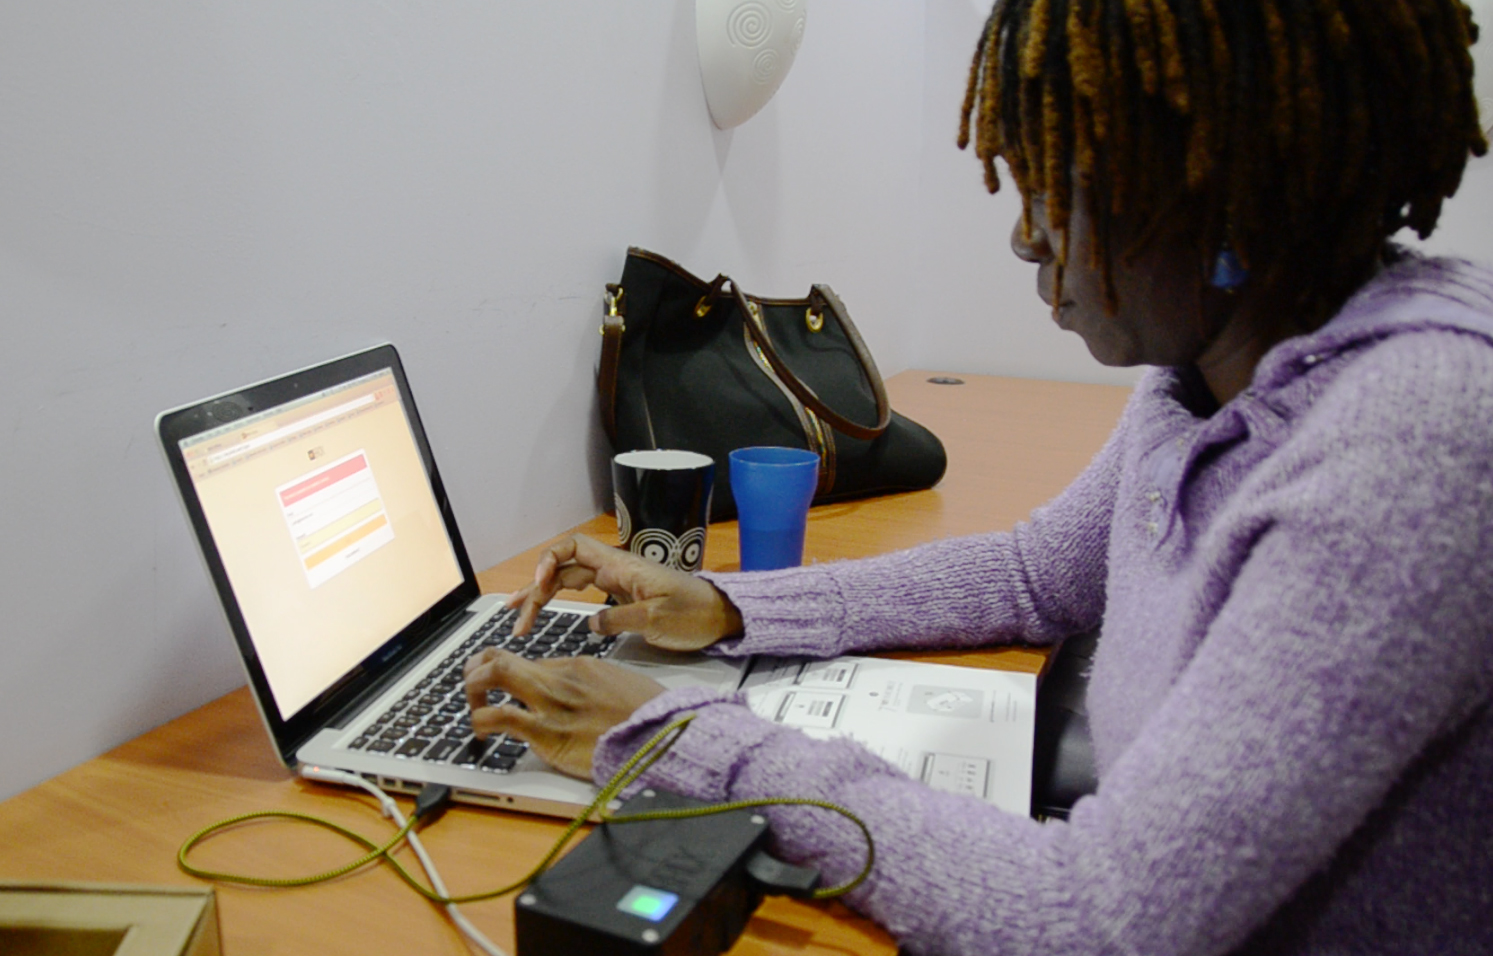
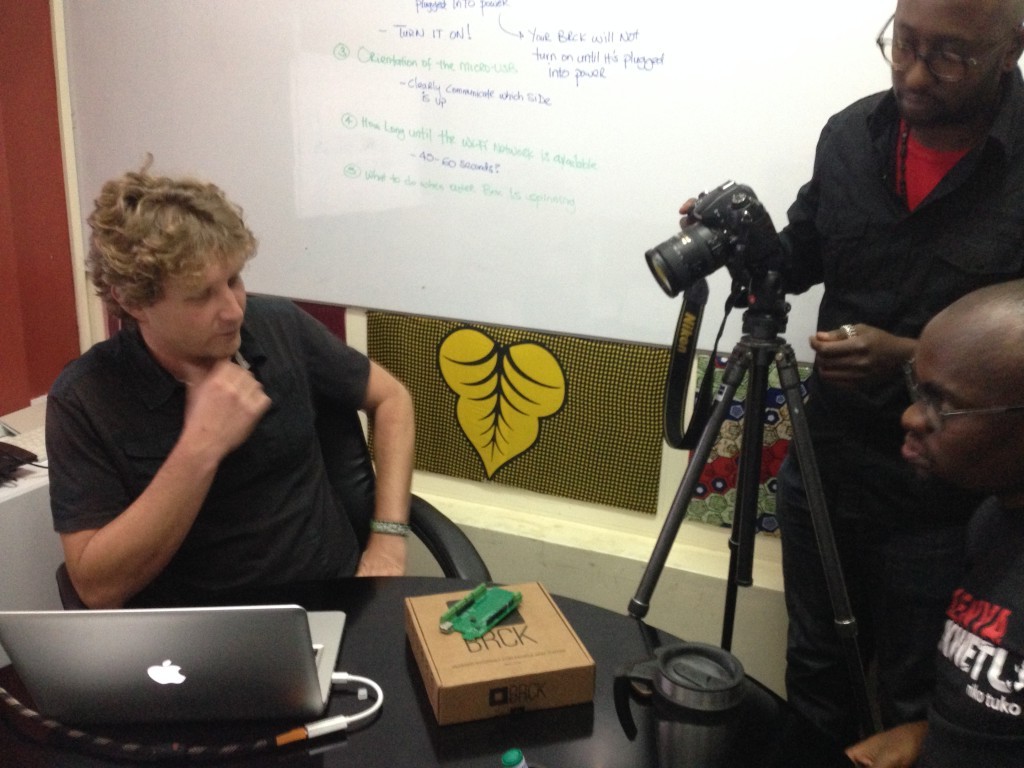
Philip and Reg getting the BRCK working at the Leakey’s camp
Lessons Learned
While we had strong signal, we had two issues that we needed to solve, and only an hour to do it before we had to head back down the hill to make it back to Nairobi before dark.
First, we mainly use Orange and Safaricom internally, and didn’t have an Airtel SIM card with us. Fortunately Katy had one, so we were able to use it. This was an oversight on our part, and we’ll stock a couple of these Airtel SIMs in the future.
Second, the Airtel SIM had no credit on it. Since all of us carry phones that hold micro- or nano-SIMs, we had no way of topping it up either. An easy solution is that we’ll carry a simple phone with us that we can do this with in the future, but we also want to explore how we can enable this same top-up activity using the local (non-cloud) dashboard of the BRCK.
Third, that not all towers work, some give bad information. Just because you get a signal does not mean that you are connected to the internet, even if it says “Edge” or “3G” on your phone.
All-in-all, it was a good excursion, a chance to eat our own dogfood outside the comfort of Nairobi and the iHub. It was a reminder to be more prepared (in both the journey and the field test), and also a great opportunity to see some less well-traveled parts of Kenya.

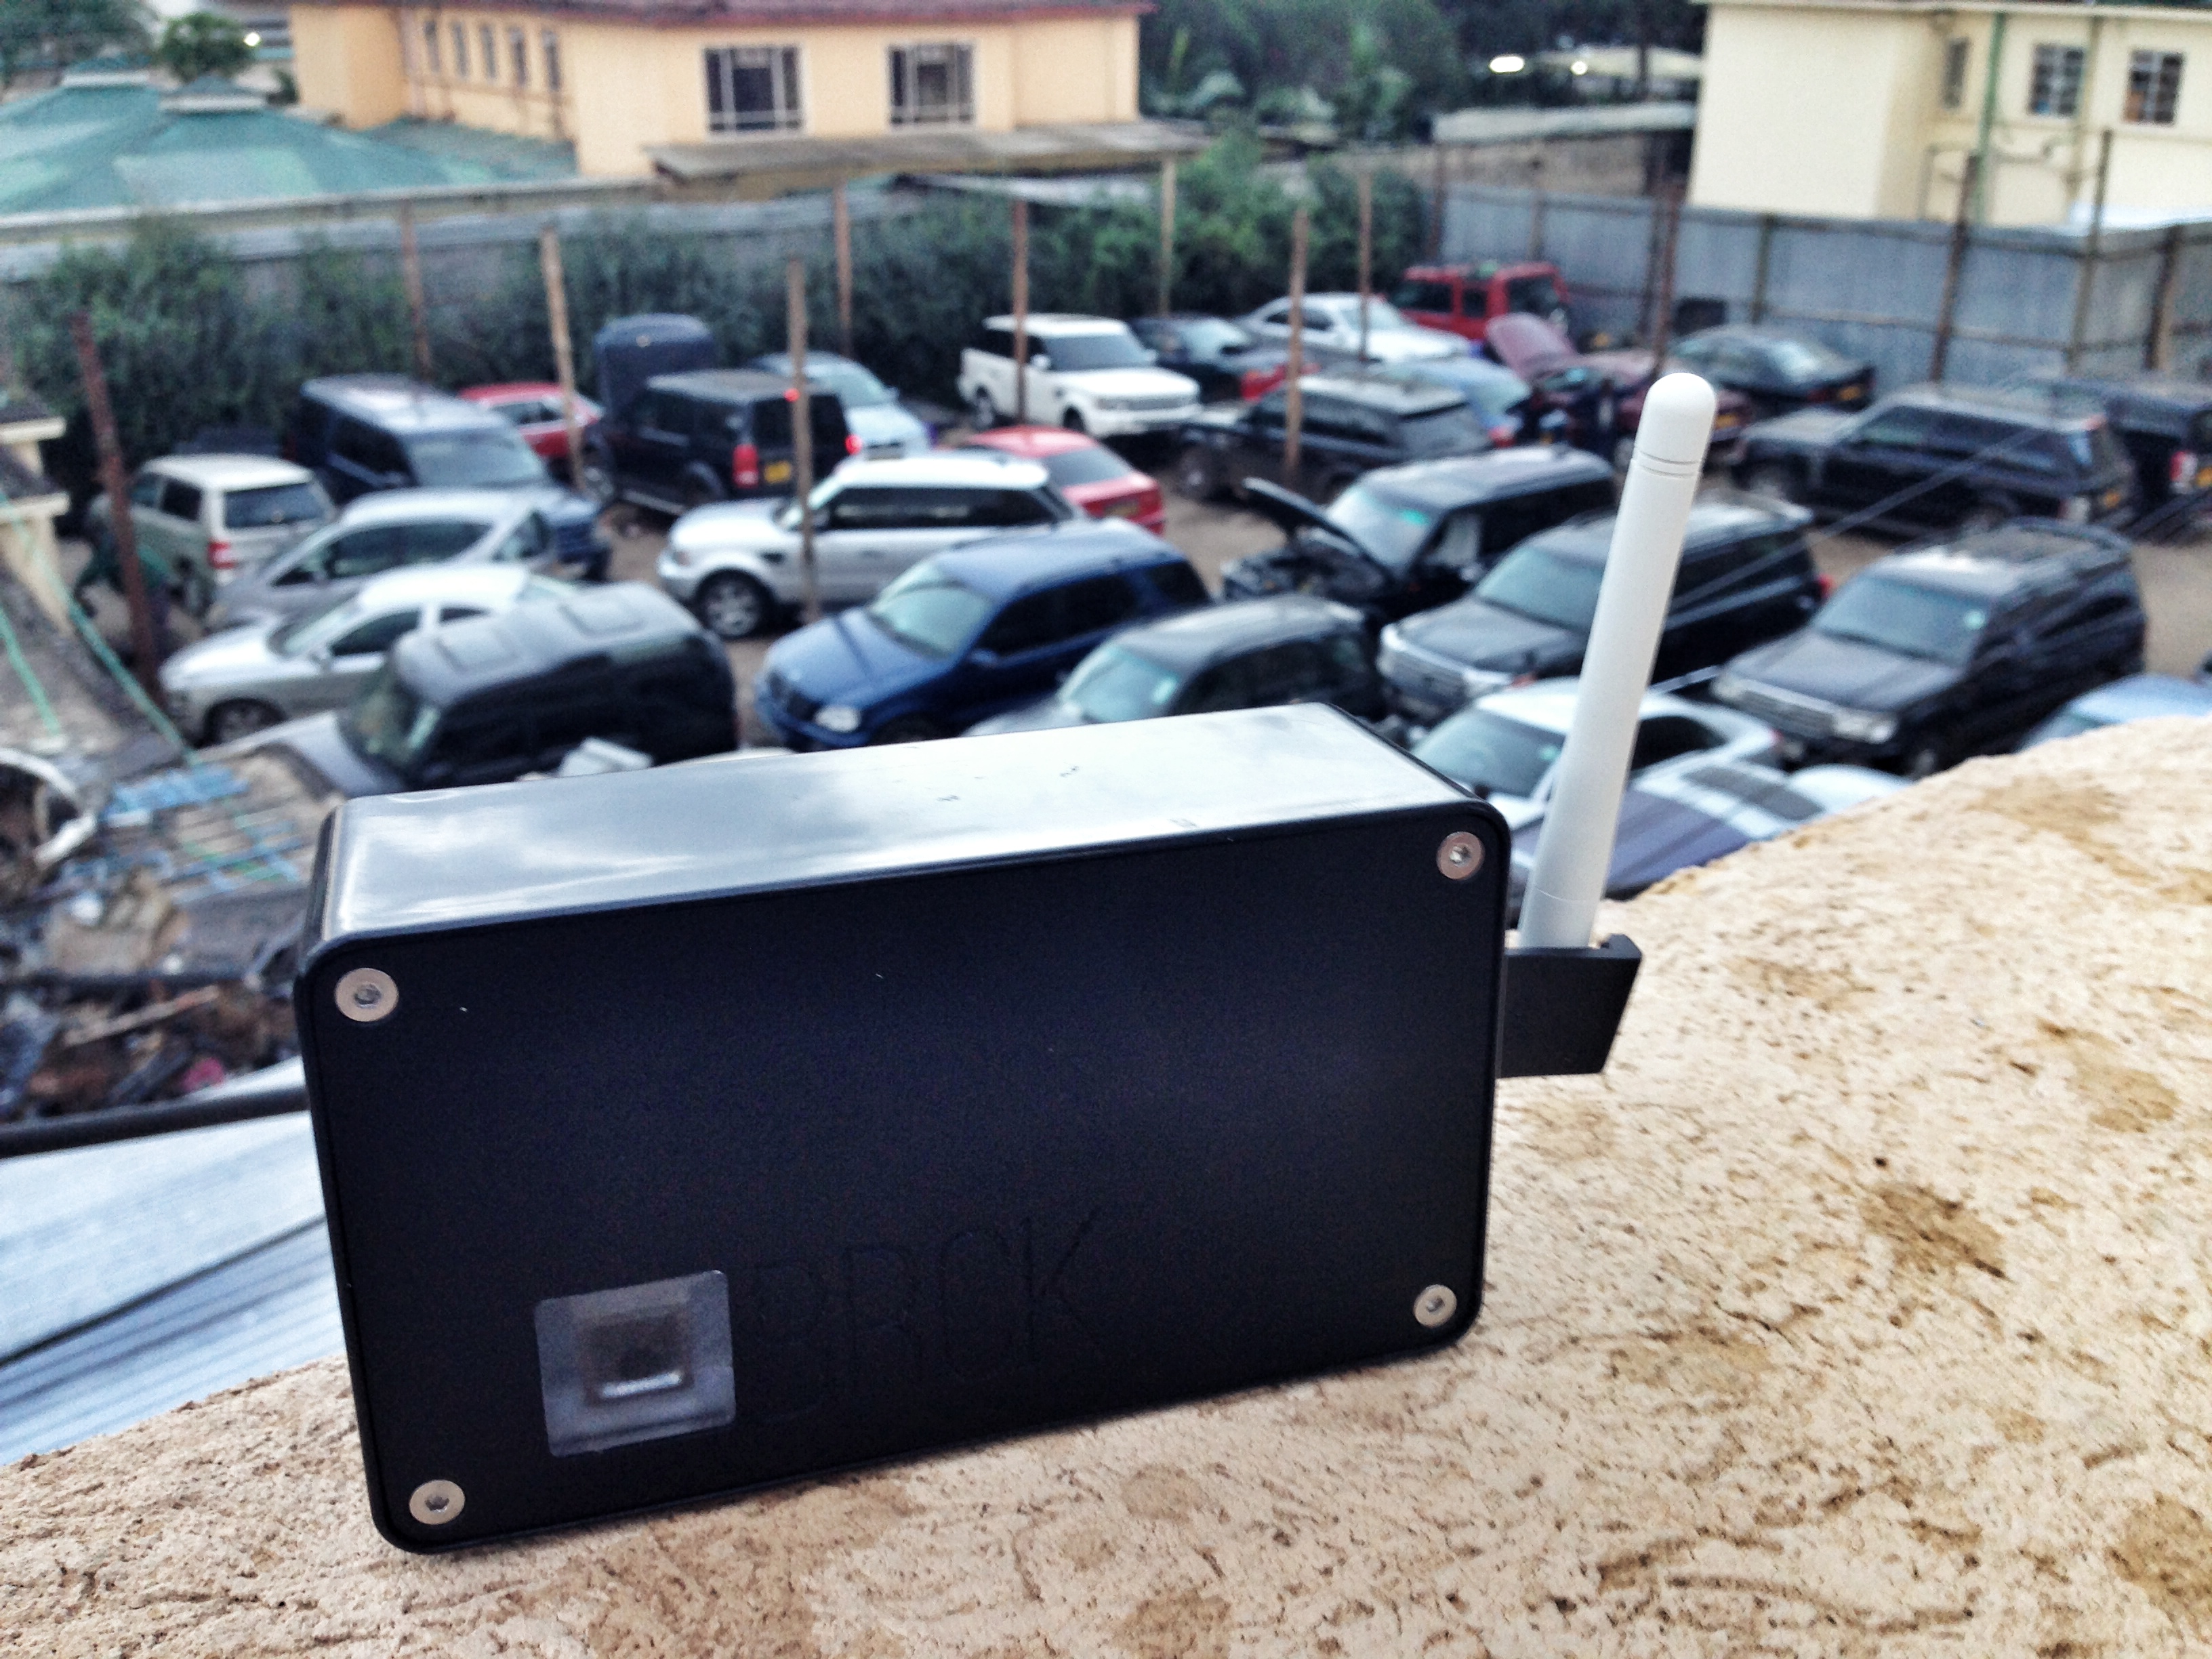
The BRCKs view of the valley